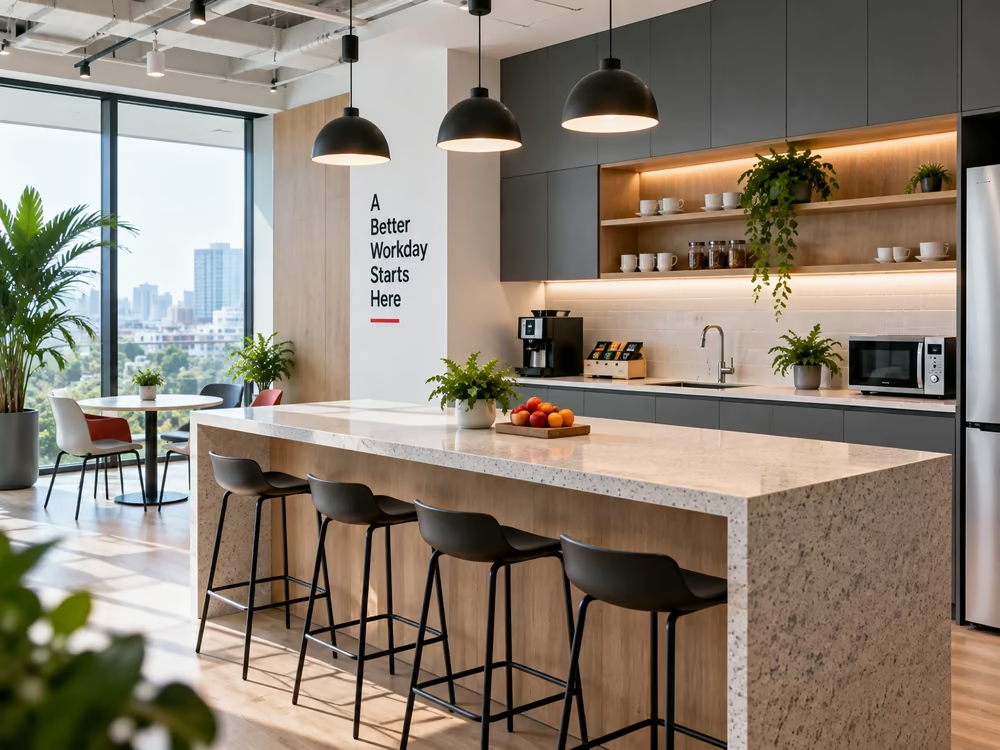
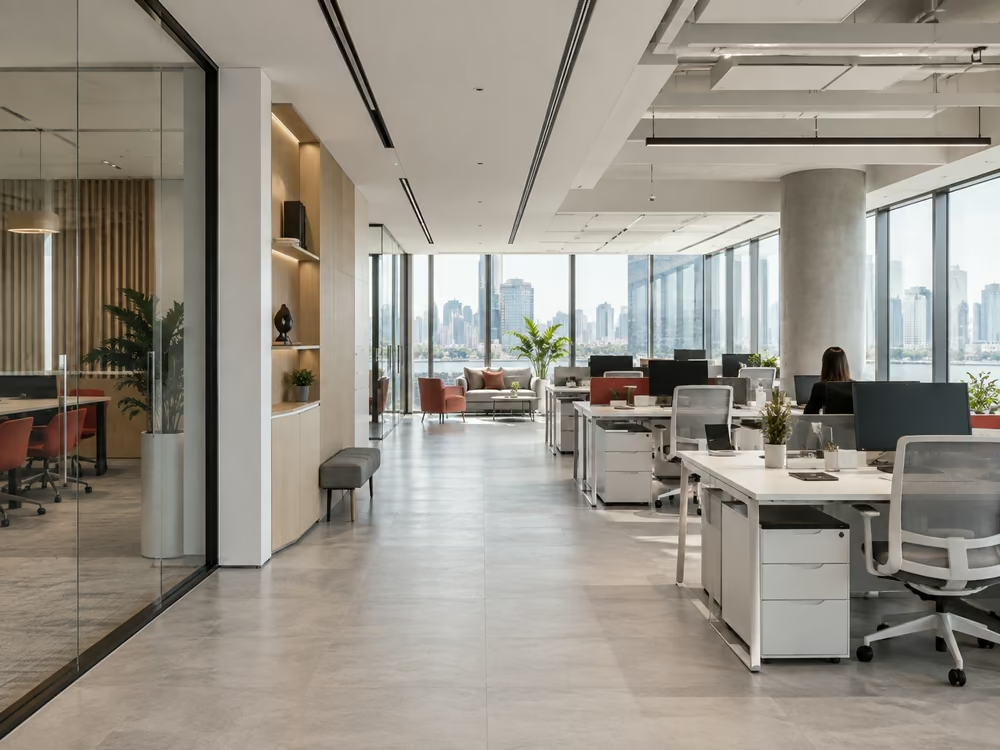
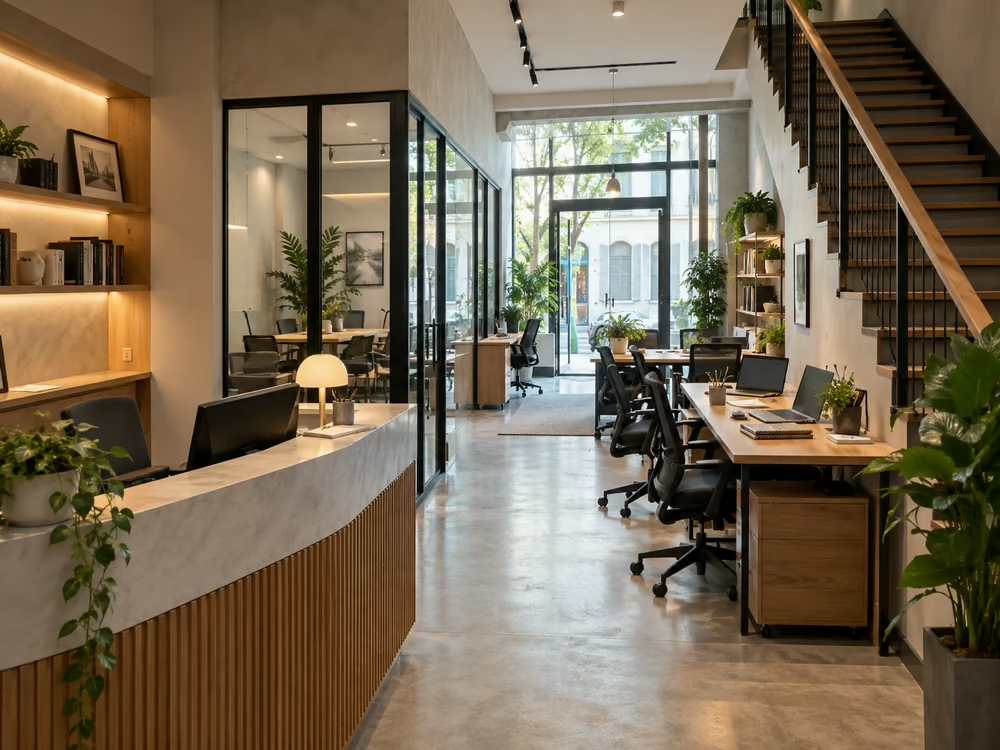
Office interior design and fit-out typically begin after a company has identified a suitable office space. From that point, the layout, operational requirements, building technical systems, and relocation timeline need to be coordinated so that the office can be completed and operational as planned.
A full project generally consists of two main phases: 7 design steps and 8 construction steps. Each phase addresses a different set of requirements, from site survey, space planning, and 3D visualization to technical documentation, furniture production, installation, testing, and handover.
Understanding the full process helps companies identify key approval points, clarify responsibilities among stakeholders, and anticipate changes that may affect cost or schedule.
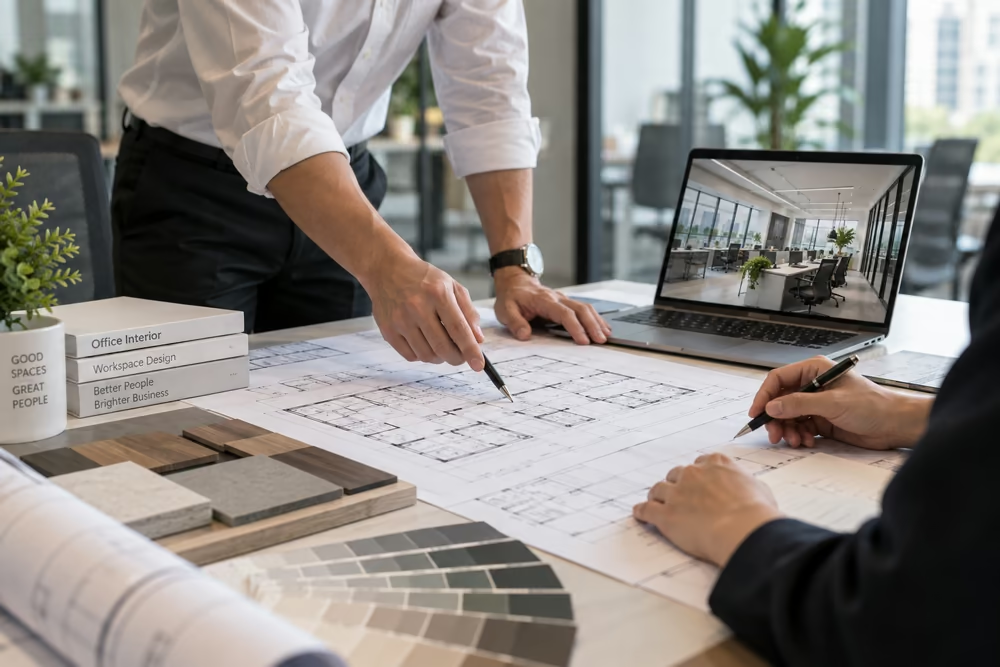
Overview of the Office Interior Design and Fit-Out Process
The office interior design and fit-out process can be divided into six main stages:
- Identify requirements and survey the existing space.
- Develop the functional space plan.
- Produce 3D design and technical documentation.
- Prepare the site, materials, and construction plan.
- Execute technical works and install interior elements.
- Clean, inspect, test, and hand over the completed office.
In practice, these stages are not always carried out separately. For example, while custom furniture is being manufactured off-site, the construction team may simultaneously work on electrical systems, air conditioning, ceilings, flooring, or fire protection systems.
For this reason, the project schedule should be developed based on the dependencies between individual work packages rather than relying only on a single overall start and completion date.
7-Step Office Interior Design Process
The design phase determines how the office will be used, how the space will be arranged, and which technical systems must be coordinated before construction begins.
Step 1: Collect the Company’s Project Requirements
The design team first needs to understand how the company intends to use the office before developing the layout.
Typical information includes:
- Office size and existing site condition.
- Current headcount and future growth plans.
- Department structure.
- Number of meeting rooms, private offices, and functional areas.
- Requirements for reception, pantry, collaboration areas, or shared spaces.
- Preferred design style.
- Branding requirements.
- Estimated budget.
- Target office opening date.
- Specific technical or operational requirements.
For example, two companies may each have 100 employees, but one may require several small meeting rooms while the other may prefer a more open-plan workplace. Similar floor area does not necessarily mean the same layout.
The more clearly these requirements are defined at the beginning, the fewer major revisions are likely to be required later.
Step 2: Conduct a Site Survey and Prepare Existing-Condition Documentation
Once the project requirements are understood, the design team conducts an on-site survey.
The survey typically covers:
- Actual floor dimensions.
- Locations of columns and building cores.
- Ceiling and floor levels.
- Doors, windows, and façade conditions.
- Electrical and plumbing connection points.
- Air-conditioning systems.
- Fire protection systems.
- Emergency exits.
- Technical areas that cannot be modified.
For offices located in commercial buildings, companies should also review the building’s fit-out guidelines or construction regulations.
A layout may appear workable on paper but still conflict with sprinkler heads, emergency exits, or existing HVAC systems. These conflicts may require design revisions during technical development.
The survey results are then compiled into existing-condition drawings, which form the basis for the next design stages.
Step 3: Develop the Concept and Design Direction
Based on the collected information, the design team develops the overall concept for the office.
Key considerations may include:
- Space organization.
- Design language.
- Main color palette.
- Primary materials.
- Brand identity.
- Privacy levels between different areas.
- Ergonomic standards.
- Lighting strategy.
- Greenery and biophilic elements.
The design concept should not be treated purely as an aesthetic decision. It should reflect how the company actually operates.
For example, a company that frequently receives external visitors needs a clear circulation route between reception, meeting rooms, and employee-only areas. A project-based organization may require a higher proportion of collaborative spaces.
Step 4: Develop the 2D Space Plan
The 2D floor plan defines how space will be allocated before the detailed design is developed.
It typically includes:
- Work areas.
- Meeting rooms.
- Management offices.
- Reception.
- Pantry.
- Storage areas.
- Collaboration spaces.
- Circulation paths.
- Partitions.
- Entrance doors.
- Emergency exits.
- Furniture and major equipment locations.
At this stage, companies should review more than just the number of workstations. They should also consider circulation, working clearances, future expansion, and relationships between departments.
If the functional layout is not resolved properly at this stage, revisions become more time-consuming once the project has progressed to 3D design or technical documentation.
Step 5: Develop the 3D Design
Once the 2D layout is approved, the design is developed into 3D visualizations.
These help the company understand:
- How the completed office will look.
- Colors.
- Materials.
- Furniture styles.
- Lighting.
- Partitions.
- Ceiling treatments.
- Brand identity elements.
This is also an appropriate stage to review design choices that may affect the budget.
For example, changing a finish material or ceiling system can affect cost, lead time, and construction methodology.
Major decisions should therefore be agreed upon before the project moves into technical documentation.
Step 6: Prepare Construction Documentation
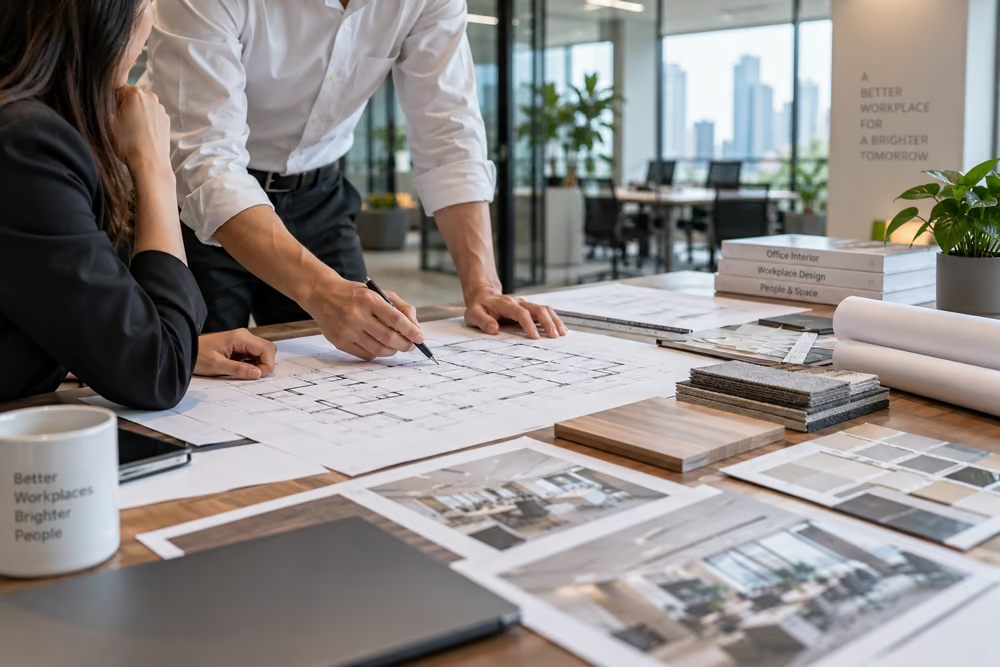
A 3D rendering shows how the office should look but is not sufficient for contractors to build from.
The construction documentation translates the approved design into technical information that can be executed on site.
Depending on the project, the documentation may include:
- Furniture layout.
- Reflected ceiling plan.
- Flooring plan.
- Partition drawings.
- Joinery details.
- Electrical systems.
- Lighting.
- HVAC.
- Plumbing.
- Data and network systems.
- Fire protection systems.
- Material schedules.
- Relevant technical details.
Some technical systems may also require review or approval from specialist consultants or building management before installation.
Step 7: Approve and Issue the Final Design Package
Before construction starts, the company should review and confirm the final version of the design documentation.
Key items to verify include:
- Final space plan.
- Approved materials.
- Furniture specifications.
- Technical systems.
- Brand identity elements.
- Scope of work for each party.
- Changes from the original proposal.
It is important to establish one clear approved drawing set. If different versions are used by different contractors, the risk of coordination errors increases.
Once the documents are approved, the project moves into the construction phase.
8-Step Office Fit-Out Construction Process
If the design phase determines how the office should be built, the construction phase converts those drawings and specifications into a completed workspace.
Step 1: Finalize the Construction Package and Work Plan
Before site work begins, all parties should review:
- Technical drawings.
- Scope of work.
- Material schedules.
- Construction schedule.
- Sequence of works.
- Responsibilities of each contractor.
- Building construction regulations.
For leased offices, some buildings require fit-out drawings to be approved by building management before contractors, workers, or materials are allowed on site.
Companies should include this approval period in the overall relocation schedule.
Step 2: Take Over and Organize the Construction Site
Once the project is approved for construction, the contractor takes over the site and prepares it for works.
Typical activities include:
- Checking actual conditions against approved drawings.
- Removing unnecessary existing elements.
- Relocating any remaining furniture or equipment.
- Installing protective coverings and site barriers.
- Defining material storage areas.
- Organizing tools and equipment.
- Reviewing delivery routes.
- Setting up safety measures.
- Coordinating working hours with building management.
In occupied commercial buildings, deliveries, freight elevator use, and noisy works may be restricted to specific time periods.
If these restrictions are not checked in advance, the actual construction schedule may differ significantly from the internal plan.
Step 3: Approve Material Samples
Before materials are ordered or produced in large quantities, the company should approve physical samples.
These may include:
- Wood.
- Laminate.
- Paint.
- Fabric.
- Carpet.
- Stone.
- Glass.
- Metal.
- Interior hardware.
Colors and textures shown in renderings or on screens may differ from physical materials. Sample approval reduces the risk of disputes over appearance or quality after production.
For long-lead materials, the approval timeline can also directly affect the overall project schedule.
Step 4: Manufacture Custom Furniture
Custom furniture is produced based on the approved technical drawings.
This may include:
- Workstations.
- Storage cabinets.
- Reception counters.
- Pantry cabinetry.
- Built-in storage.
- Meeting tables.
- Custom decorative elements.
Manufacturing often takes place in parallel with site construction to shorten the overall project duration.
Before delivery, the items should be checked for dimensions and workmanship to reduce the need for on-site modifications.
Step 5: Execute Structural and Technical Works
This is typically the stage with the highest level of coordination between different disciplines.
The works may include:
- Partition installation.
- Ceiling works.
- Flooring.
- Electrical systems.
- Lighting.
- Plumbing.
- Air conditioning.
- Ventilation.
- Data and network systems.
- Fire protection systems.
The sequence of works needs to be coordinated among contractors. A small change in meeting room position, for example, can affect lighting, sprinkler locations, air diffusers, electrical outlets, and data points.
This is why layout changes made during construction are usually much more complex than revisions made during the 2D planning stage.
Step 6: Install and Complete Interior Works
Once the main technical works are substantially complete, the project moves into the finishing stage.
This may include:
- Final painting.
- Wall finishes.
- Flooring or carpet installation.
- Ceiling finishing.
- Lighting installation.
- Curtain installation.
- Glass and partition installation.
- Placement of loose furniture.
- Installation of custom-built furniture.
- Signage and brand elements.
- Greenery and accessories.
Throughout this stage, the technical drawings should continue to be used as the reference for positioning and dimensions.
The project team should also begin recording defects or incomplete items so they can be corrected before formal handover.
Step 7: Clean and Inspect the Office Before Handover
After construction, the office may still contain dust, construction waste, and installation marks.
Typical cleaning activities include:
- Removing construction debris.
- Cleaning floors.
- Cleaning glass.
- Cleaning furniture.
- Cleaning lighting fixtures and equipment.
- Cleaning corners, joints, and hard-to-reach areas.
This stage should also include a final pre-handover inspection before the company moves in equipment and employees.
Issues such as misaligned doors, non-functioning lights, incorrect outlet locations, or damaged finishes should be recorded in a defect list for rectification.
Step 8: Inspect, Test, and Hand Over the Office
At the final stage, the company and contractor inspect the completed office against the approved documentation.
The inspection may cover:
- Quality of finishes.
- Quantity and location of furniture.
- Electrical systems.
- Lighting.
- Air conditioning.
- Plumbing.
- Relevant fire protection works.
- Outstanding defects.
Any remaining issues should be listed, corrected, and rechecked before final acceptance.
Depending on the project, the handover package may include as-built drawings, equipment documents, user manuals, warranty information, and material schedules.
Once the handover is completed, the company can proceed with IT installation, operational setup, and employee relocation.
Which Parties Are Typically Involved in an Office Fit-Out Project?
An office fit-out project often involves more parties than just the company and the interior contractor.
Depending on the project, stakeholders may include:
- The office tenant.
- Interior design consultant.
- Main contractor or fit-out contractor.
- MEP contractor.
- Fire protection contractor.
- IT contractor.
- Furniture suppliers.
- Building management.
- Landlord or building owner.
- Commercial real estate advisor.
Clearly defining responsibilities at the beginning reduces the risk of gaps where one task is overlooked because each party assumes it belongs to someone else.
For example, the data network may be linked to workstation layout, electrical routing, server room requirements, and the IT provider. If the IT contractor is brought in only near project completion, additional cabling may affect already finished works.
What Should Companies Check Before Starting Office Fit-Out?
Before moving into detailed design, companies should review the technical and operational conditions of the leased space rather than focusing only on size and layout.
Key items include:
- Whether the premises are delivered as bare shell, warm shell, or fitted space.
- Existing air-conditioning system.
- Electrical capacity.
- Fire protection systems.
- Ceiling height.
- Technical connection requirements.
- Material restrictions.
- Permitted construction hours.
- Freight elevator regulations.
- Fit-out related fees.
- Construction deposits.
- Drawing approval procedures.
- Reinstatement obligations at lease expiry.
These conditions directly influence the design approach and required investment.
A space with usable ceilings, flooring, and MEP systems presents a very different fit-out scope from a bare-shell office.
How Long Does Office Interior Design and Fit-Out Take?
There is no single timeline that applies to every project.
The actual duration depends on factors such as:
- Office size.
- Design complexity.
- Existing handover condition.
- Scope of technical works.
- Internal approval process.
- Building fit-out approval process.
- Furniture production lead time.
- Material procurement lead time.
- Permitted construction hours.
- Fire protection and other technical requirements.
Based on the original reference content, a medium-sized project may take around 6–12 weeks, an office under 100 sq m may take around 4–6 weeks, while projects above 300 sq m or with more complex requirements may take 3–6 months.
⚠️ These timelines should only be treated as general references and should be confirmed based on the actual project scope, site condition, and building requirements.
Companies planning an office relocation should also account for the time required for office search, lease negotiation, internal approvals, IT setup, and relocation planning. Fit-out is only one part of the overall relocation timeline.
Can the Design Be Changed During Construction?
Yes, but the impact depends on when the change is made.
At an early stage, changes to paint colors or certain finish materials may be relatively straightforward.
By contrast, changes to room locations, partitions, or space functions after technical systems have already been installed may require modifications to:
- Ceiling systems.
- Lighting.
- Air conditioning.
- Sprinklers.
- Fire alarm systems.
- Electrical outlets.
- Data systems.
- Flooring.
- Custom furniture already in production.
For this reason, companies should aim to finalize the functional layout before construction begins.
If a change is required, three factors should be reviewed before approval: scope change, additional cost, and schedule impact.
What Additional Costs May Arise During Construction?
Actual fit-out costs may change when the project scope differs from the original plan.
Common causes include:
- Design changes after approval.
- Existing site conditions differing from initial documentation.
- Changes in materials.
- Additional technical works.
- Furniture re-production.
- Additional transportation or storage.
- Out-of-hours construction.
- Additional requirements from building management or other stakeholders.
- Extended construction duration.
When reviewing the fit-out budget, companies should therefore consider the full scope of design, construction, technical systems, and building-related charges rather than comparing furniture or fit-out rates alone.
How Can RSQUARE Support Companies Preparing for a New Office?
Interior design and construction usually take place after an office has been selected, but many factors affecting fit-out are already determined during the office search and lease negotiation stages.
Handover condition, technical capacity, fit-out regulations, permitted construction hours, and reinstatement obligations can all affect the budget and the date on which the new office can become operational.
During the office search process, RSQUARE supports companies in comparing options based on area requirements, budget, location, and actual site conditions. Reviewing fit-out-related factors before lease signing gives companies a stronger basis for evaluating total occupancy costs and planning the relocation schedule.
Conclusion
An office fit-out project does not begin with a 3D rendering, and it does not end as soon as the furniture is installed.
From requirement definition, site survey, and space planning to technical coordination and final inspection, each stage affects the next. Decisions made late in the process are more likely to trigger changes across multiple work packages.
For companies preparing to relocate, reviewing fit-out conditions during the property evaluation stage can help align the leasing, design, construction, and move-in schedule around the same operational target date.